Creation of RDS in AWS
Creation of RDS in AWS
1. First we have to go to the
Amazon web Services with our Account. Than we have to select the RDS service.

2.
Before creating the RDS Instance we have to create the Subnet Group which be
seen in the navigational plane in RDS Dashboard so select that option. 
3. In the next page we have to click Create DB sub net Group.

4. In the next page we will find the blanks which we want to fill up to create the Sub net Group and also we have to add the Sub nets of different Availability Zone. At once we can add only one sub net of one Availability Zone after that we have to add another one than click on create and it will take some time. 


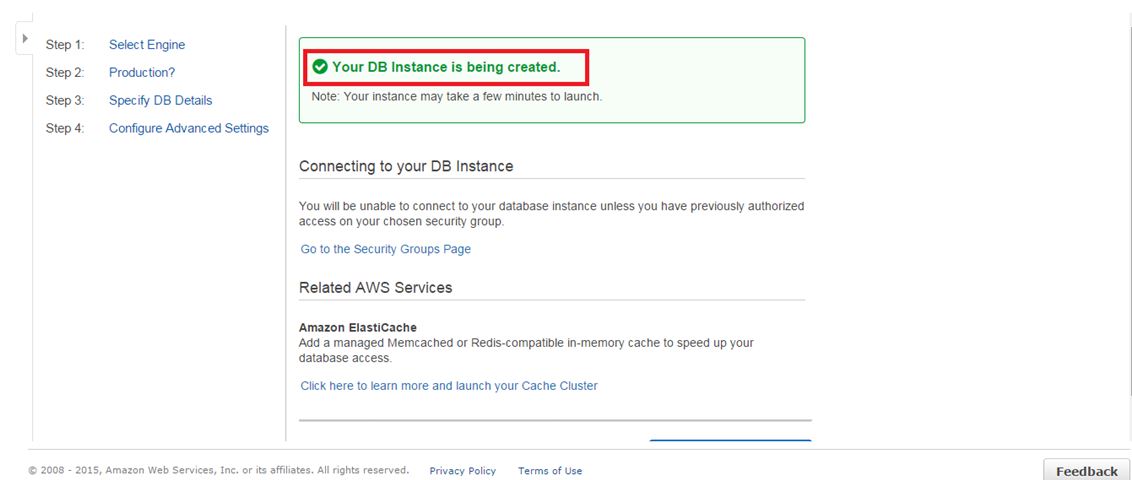
 5. After creating the Sub net Group click on Instance in RDS dashboard to create Creating RDS DB Instance

6. When you click on Get Start Now we will find a page where we have to select the DB engine to start the process for example MYSQL

7. After that we will find a page where we have to st the option of MultiAZ Deployment .This option can set according to the client wish if he need than select YES or if he dont than NO.

8.After that we will find the Specify DB Details here we have to select the option NO for MultiAZ Deployment.After this down we have to give the DB Identifier, Master name and Password.


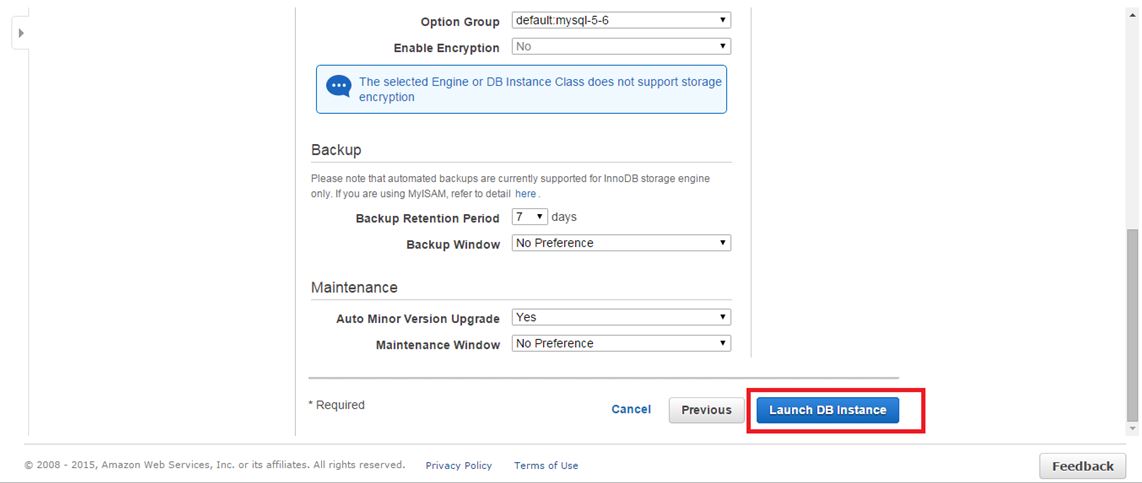
9. Ater that page we will find the Advance setting of DB . Here we have to select and fill some options like


Post a Comment